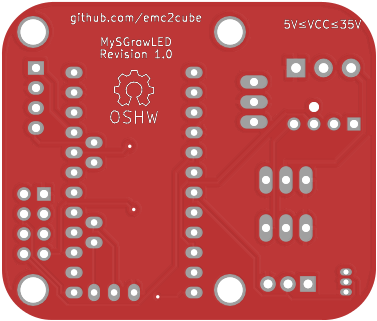


MySGrowLED
Design by: 10880
MySGrowLED

Description
MySensors module designed for wireless greenhouse automation (nRF24L01, 2.4GHz).
This module allow you to:
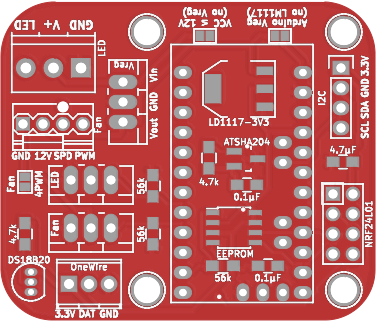
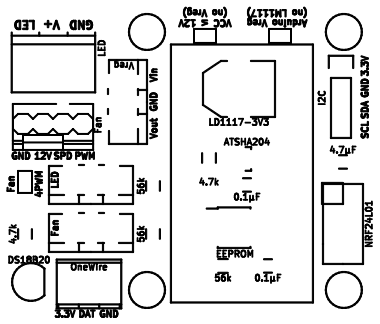
- control a primary LED light (5-40V input can be used to power the module)
- control a secondary circuit designed for a CPU PWM fan but can be used for a second light, humidifier, relay or anything else using 12V
- monitor temperature using an optional onboard DS18b20 sensor
- monitor external temperature by plugging external OneWire sensors
- monitor any additional parameters using additional I2C modules such as temperature, humidity, light levels, barometric pressure, etc...
Ordering
Gerber files are included, so you can order these PCB at your favorite PCB fab house. For an easy ordering process you can directly order these PCB from different manufacturer without having to do anything:
- PCBs.io 4 for $11.62, black 1.2mm PCB, ENIG finish.
- DirtyPCBs ~10 for $15.95, multiple colors and PCB thickness, HASL finish.
- OSH Park 3 for $14.95, purple 1.6mm PCB, ENIG finish. Components are highly customizable and the default list may not be the best for your specific use, but it will work for most of the cases. Double check that the power supplies, voltage regulators and mosfets are compatible with your project.
Options
This board is designed to be compatible with MySensors but can be used on its own (timer or sensors to control the lights) or another system using 2.4GHz communication if you adapt the arduino code.
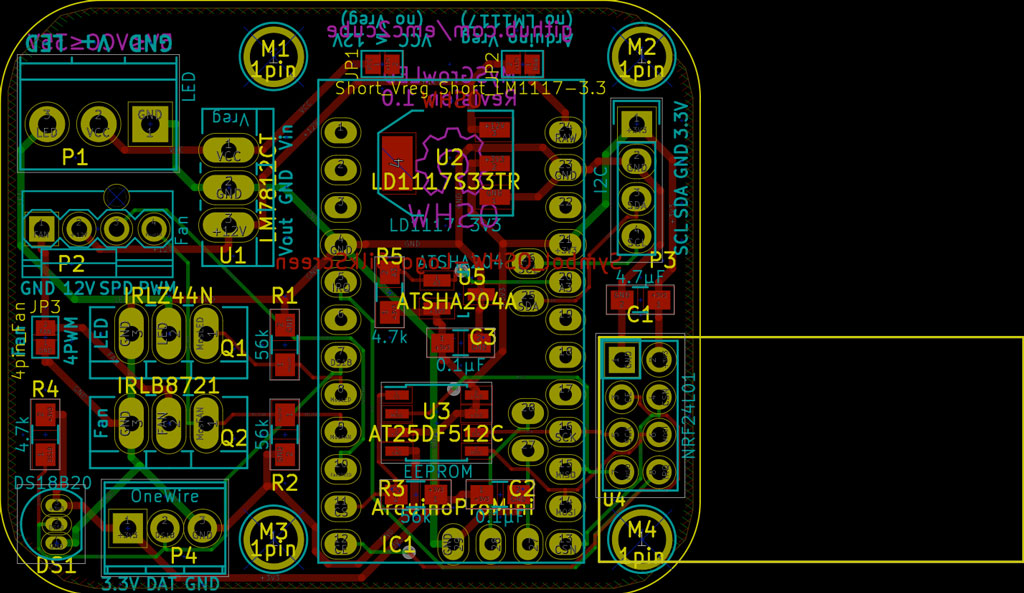
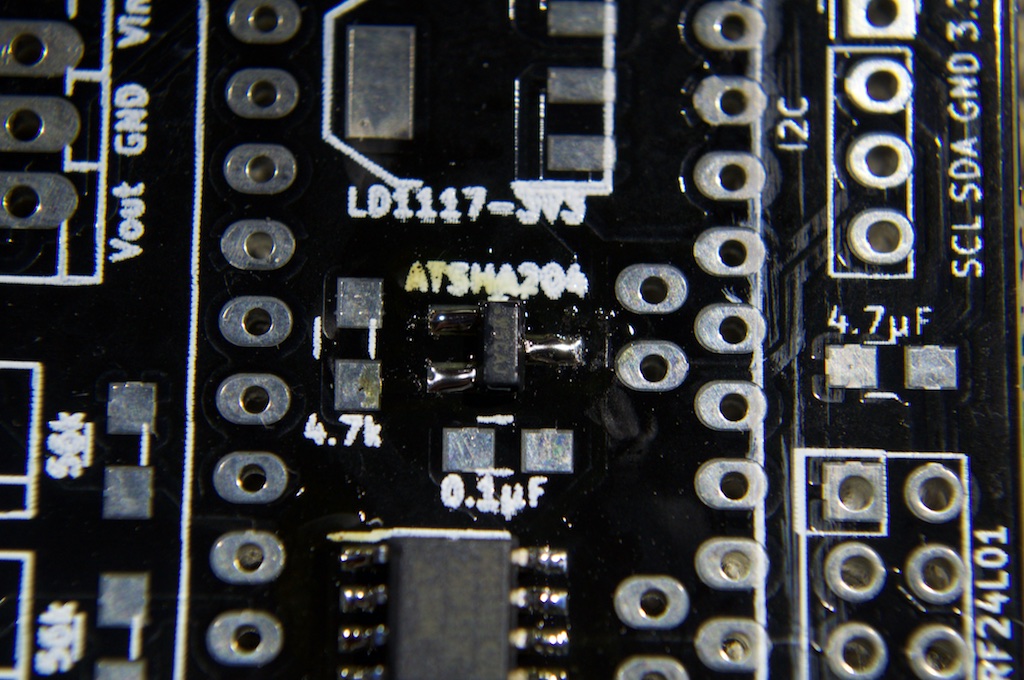
ATSHA204 module
For security reason you can add a CryptAuthEE SHA256 chip. This will allow you to sign messages and will secure communications between the node and your gateway (this is not encryption, just signing). If you only control lights, fan, or other non-essential hardware you probably don't need to bother with this chip. Signing can also be done at the software level, without the chip if you decide to add this function later.
Eeprom module
This module is only used to perform OTA updates on the node. If you don't plan to use this feature you can also skip this chip. You will also need to burn a compatible bootloader to your arduino (DualOptiBoot)
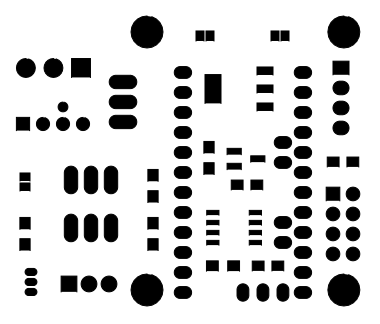
Assembly
Once you received your dirty package of PCBs (or any other Fab house) start by inspecting it carefully to look for scratches, dents, or anything that seems wrong. Do not use the board if you have any concerns. 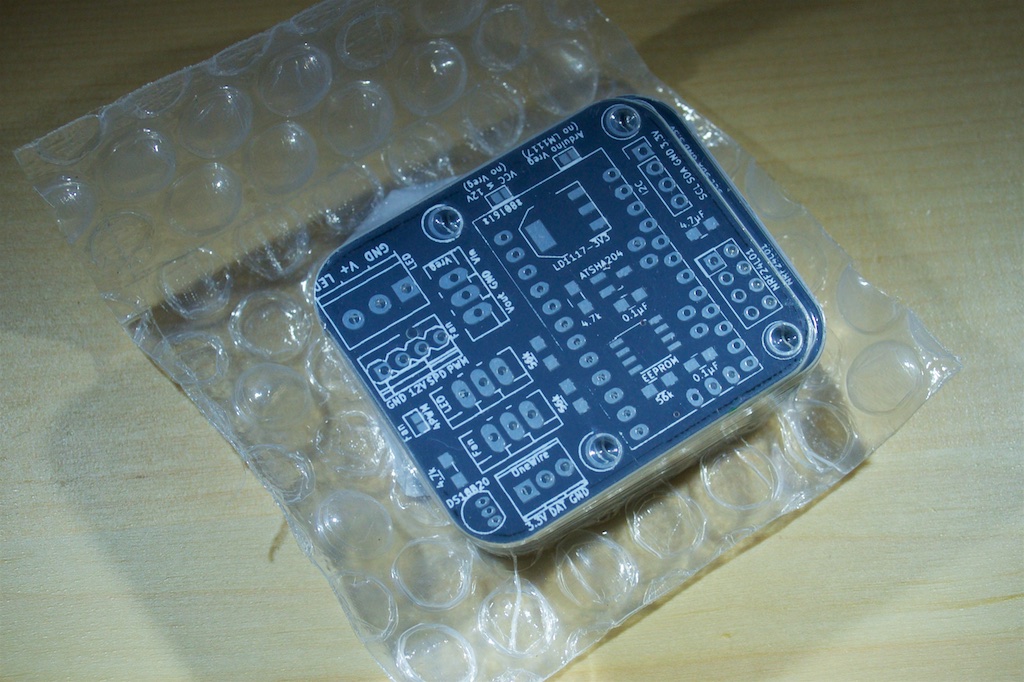
Markings are a little off, but nothing wrong on this one, good to go! 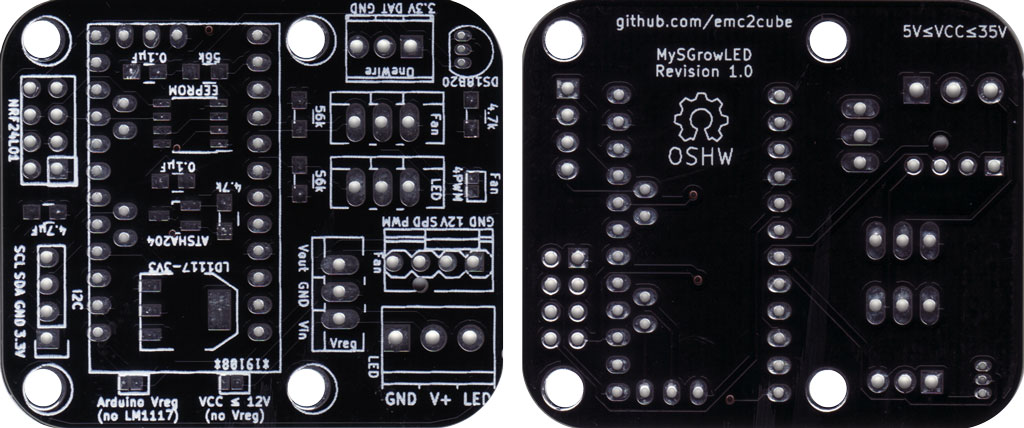
Start by soldering the optional chips, if you plan to use them. 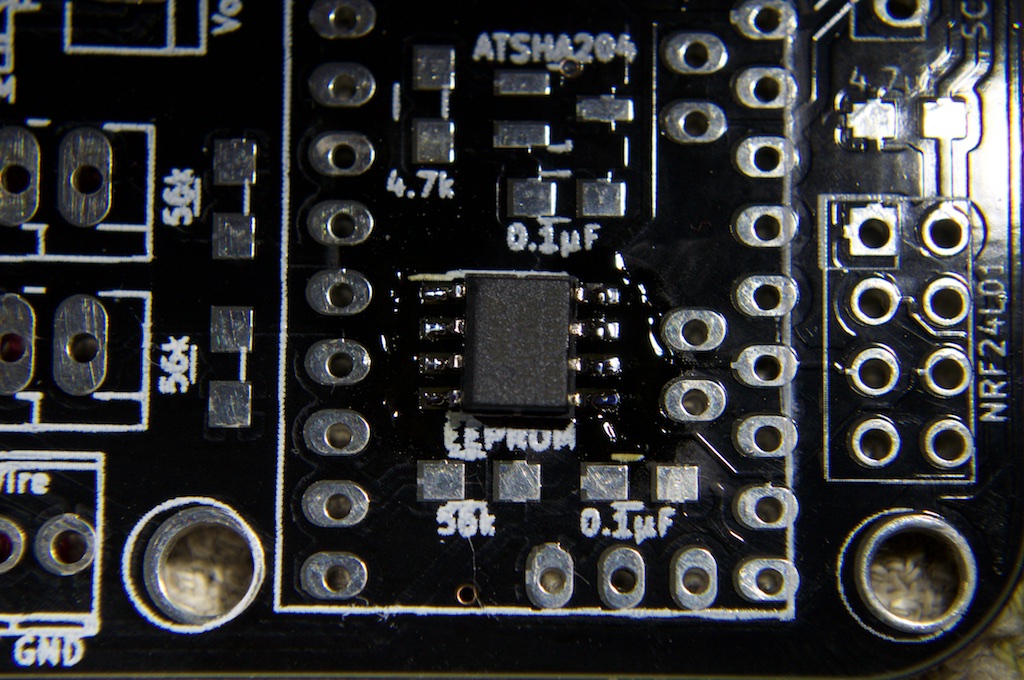
Then add all other surface mount components. Don't be affraid by their little size, they are actually easy to solder. If you never soldered SMD components before, be sure to look for a few video tutorials first. 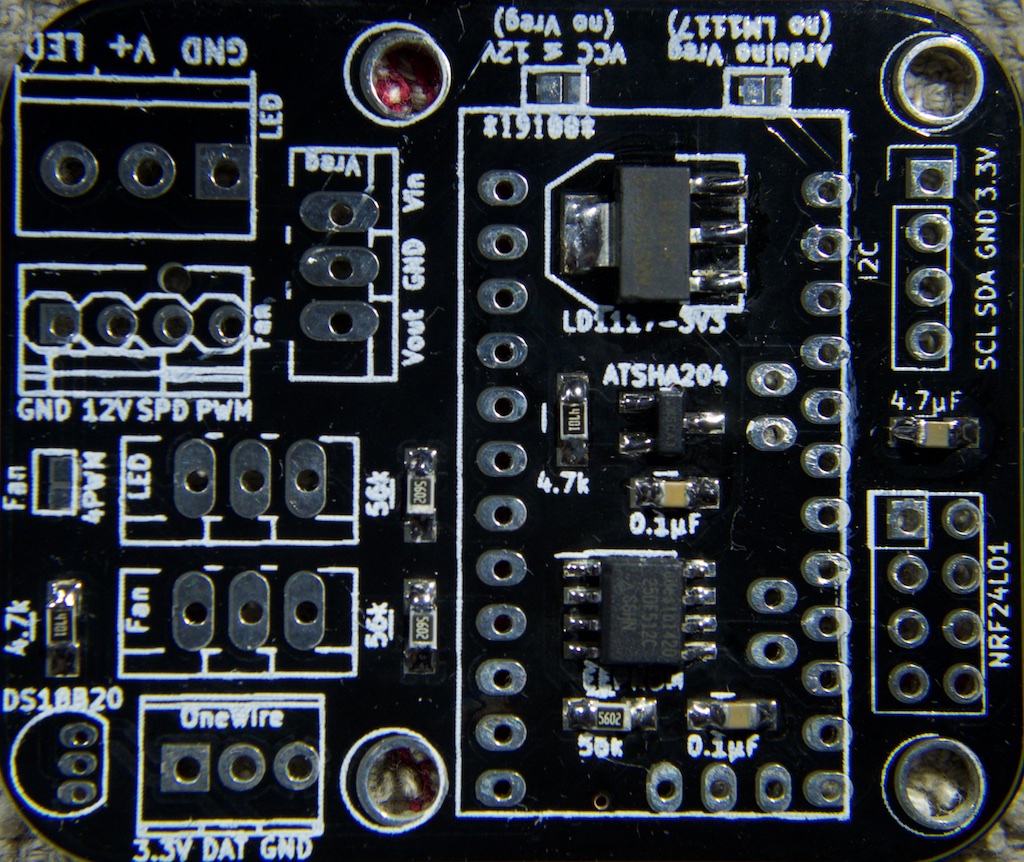
Finish by adding the regular through-hole components, starting by the smaller ones. 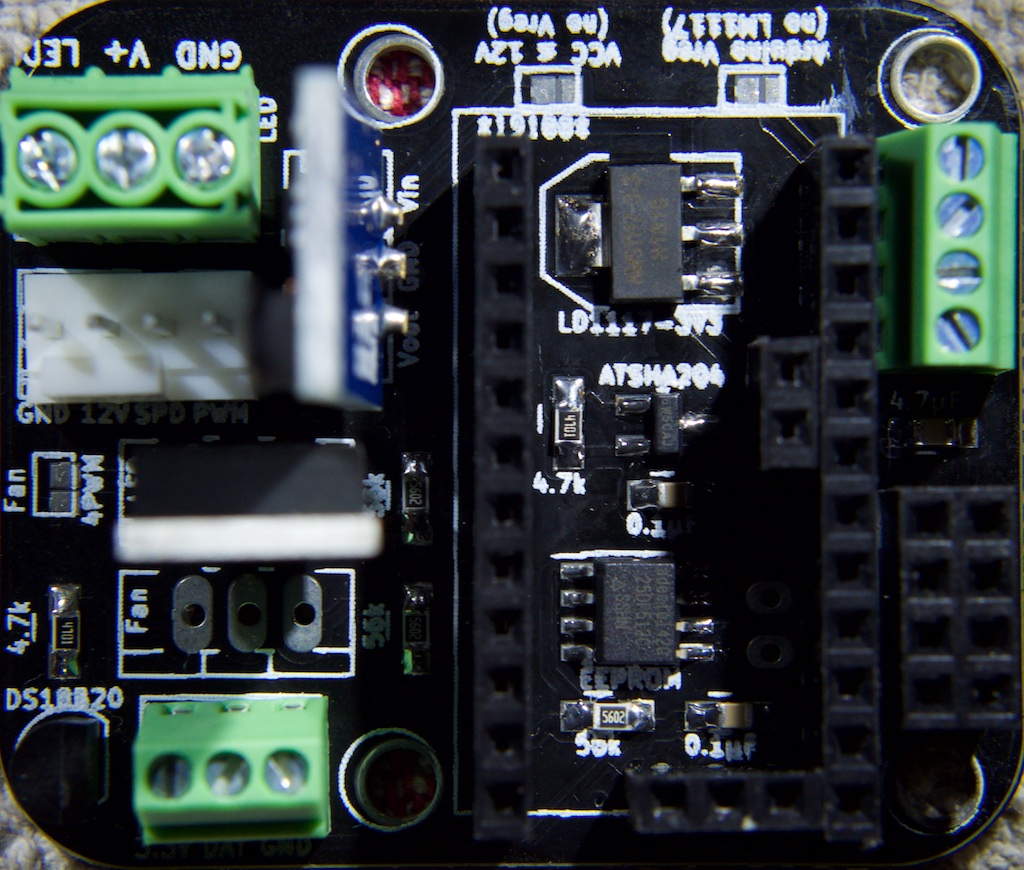
Plug your arduino module and radio and you are good to go. 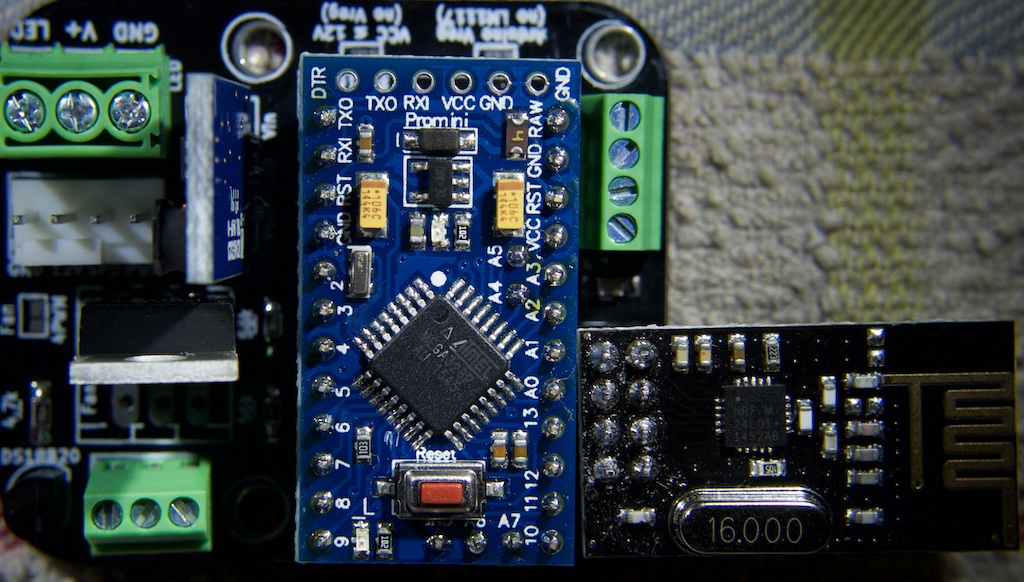
Testing
You can upload MySGrowPCB_test to your arduino to test the setup:
- It will look for an ATSHA204 and return its serial number if detected.
- It will look for an eeprom and return its manufacturer ID if detected.
- It will alternatively switch the LED and Fan circuits ON and OFF for 10 seconds.
Usage examples
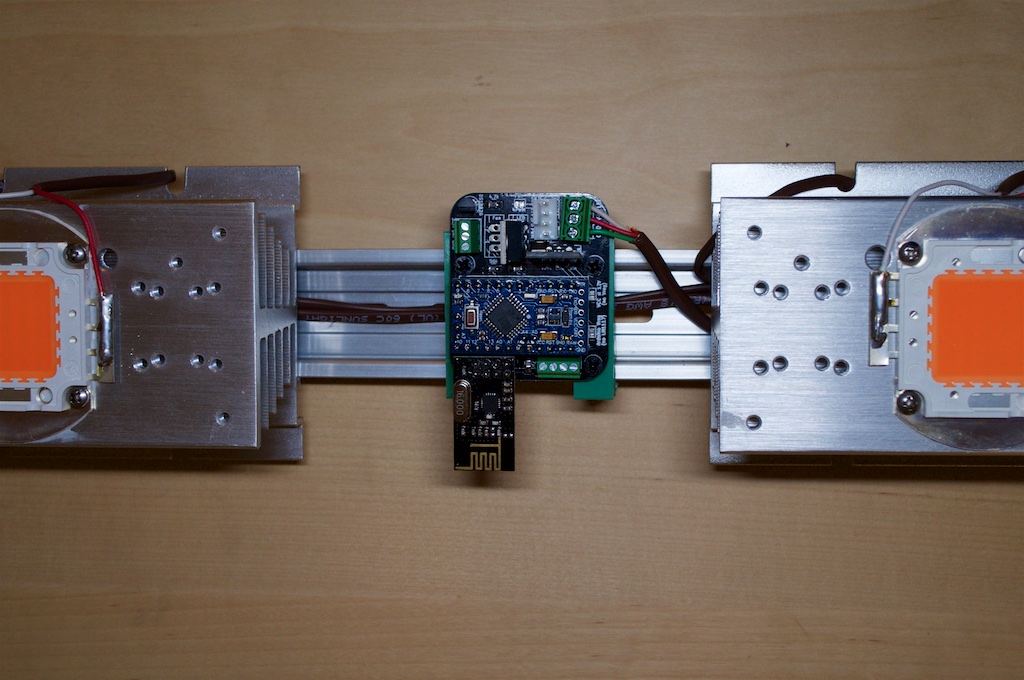
This module can be used on the DIY LED light example included (PCB compared to breadboard design) 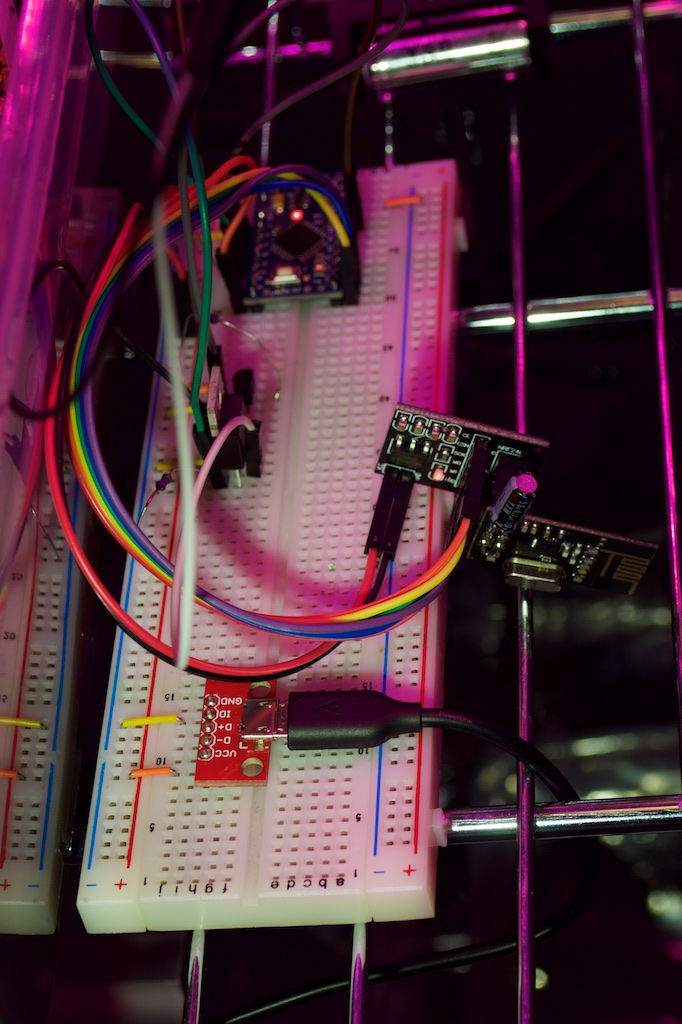
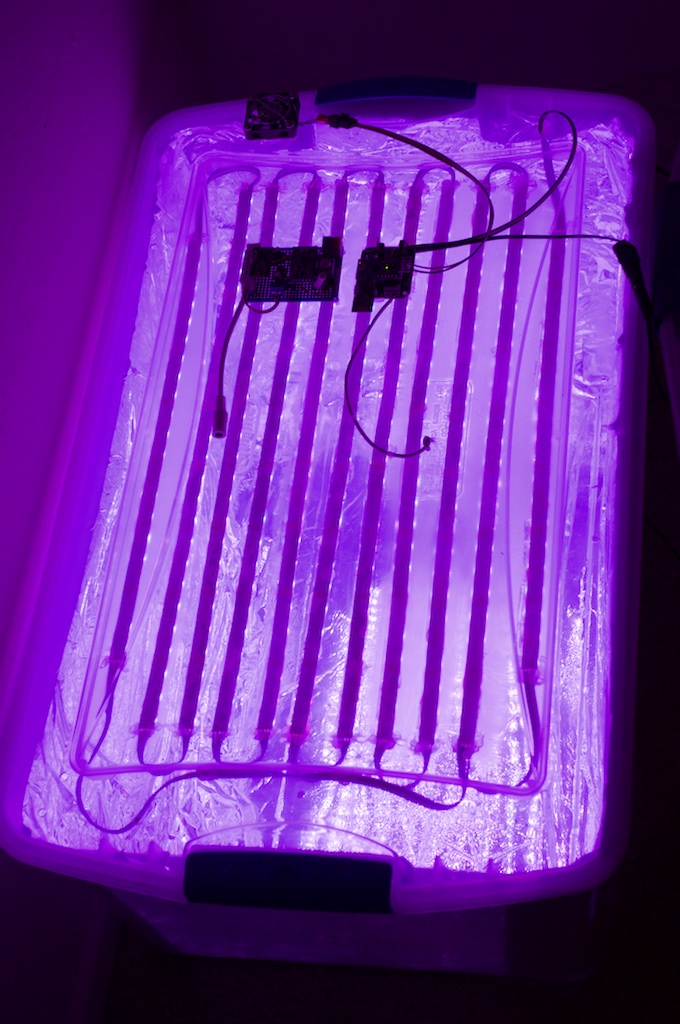
Another possible use to control a germination chamber inside a plastic container (PCB compared to previous protoboard design) 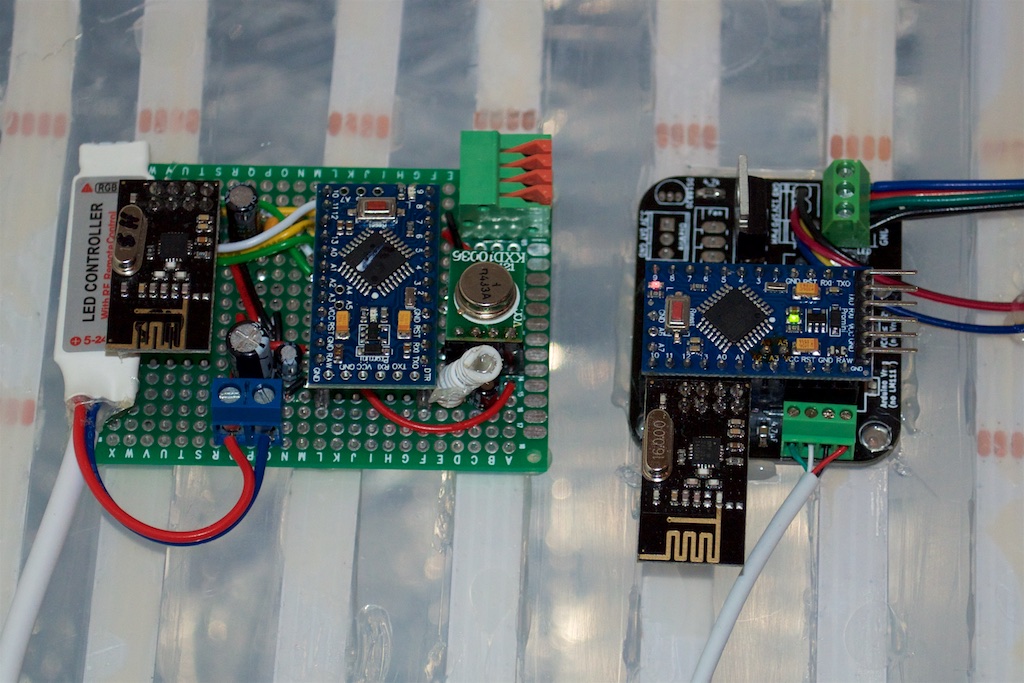
Revision history
Version 1.0: Initial release.